Showing posts with label painting. Show all posts

Wednesday, August 13, 2008

Eames Storage Unit


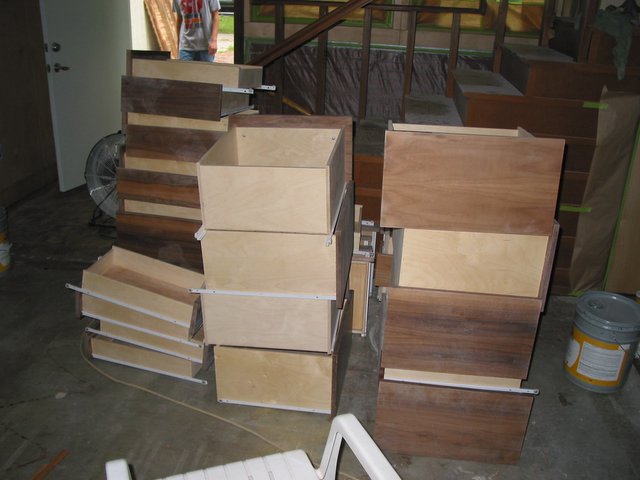
Exciting news on the Record Storage I built for Rod Parks the owner of Retro Inferno, its in a small pic in this month's issue of Spaces magazine. Barrett has some pictures of the storage unit and as soon as I get them from him I will post some pics of it in action. The last part of my furniture trade with Rod involved a large Eames Storage Unit. I can't say that I would have been able to stomach paying for one of these as they are really really expensive, but it was a lot easier to justify when I was trading some of my sweet equity and not actual cash. The unit is awesome and looking back it is one of the best pieces in the house. It looks cool and is extremely functional and well built.
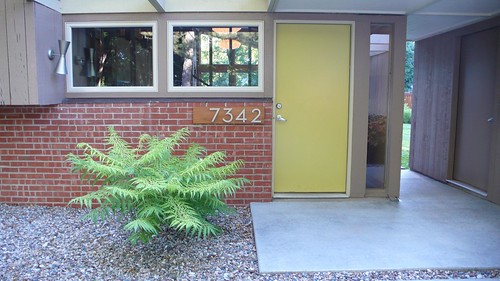
I finally got the house numbers installed on the house. I put them on a scrap of Teak I had and simply hung them on the brick.
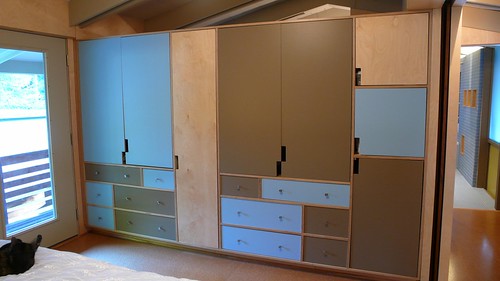
I finally got around to painting out the doors on the closets. I struggled with the idea of painting these for almost two years, I should have just followed my gut from the beginning. Since our house has so much Birch Paneling I always thought adding a strong punch of color would really set off the closets. I went with two colors to tie the house together. The brown is actually the exterior color of the house. The blue picks up the blue of the tile and the blue of the Angela Adams Rug. I really like how the blue pulls together all three levels of the house now, its subtle and I'm probably the only person who will ever notice but I'm really happy we did it.

Tuesday, August 29, 2006

Floor Leveler Sucks

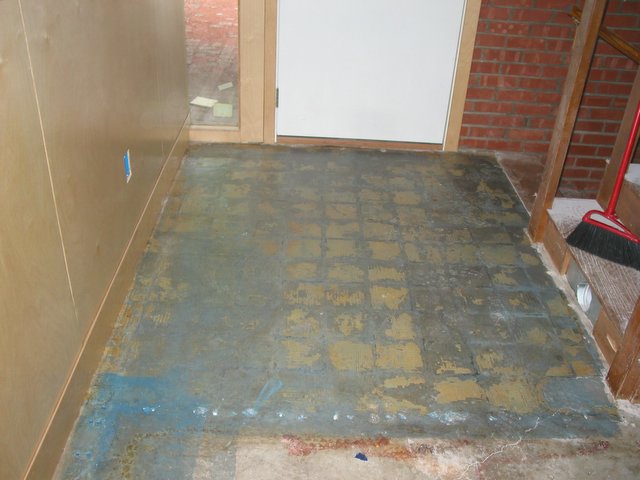
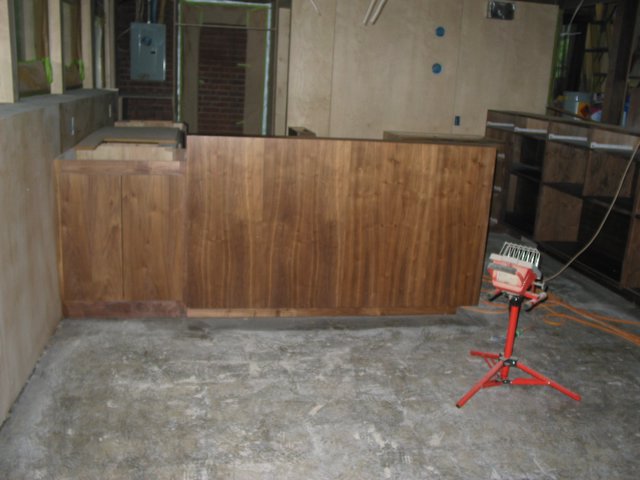
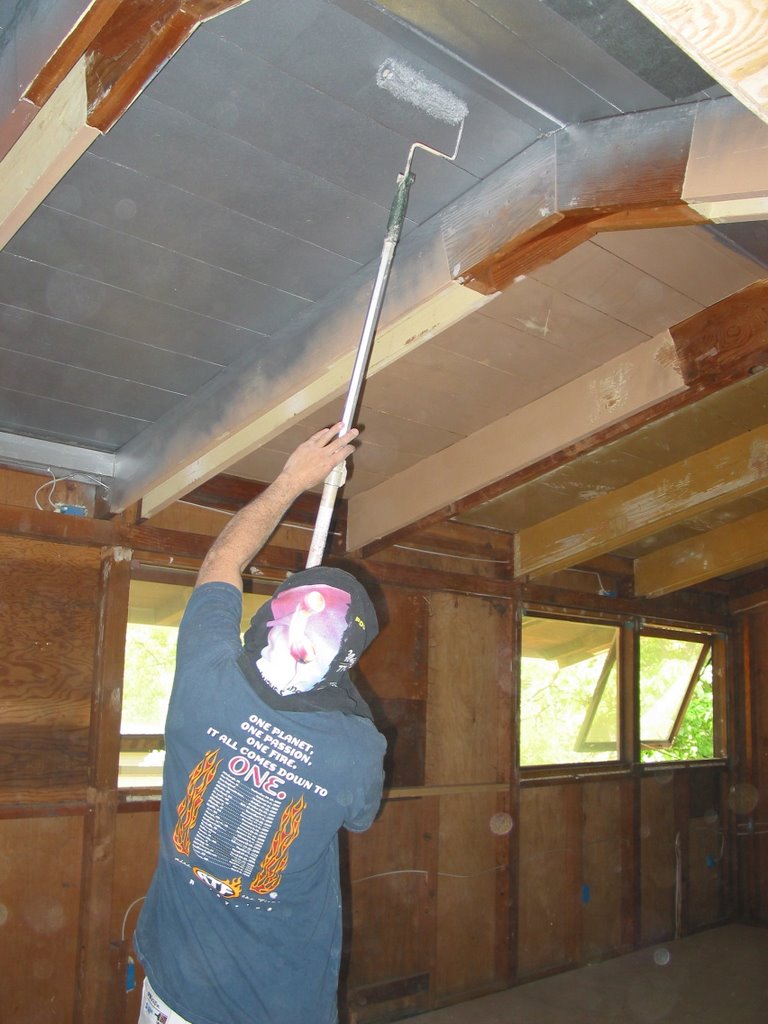
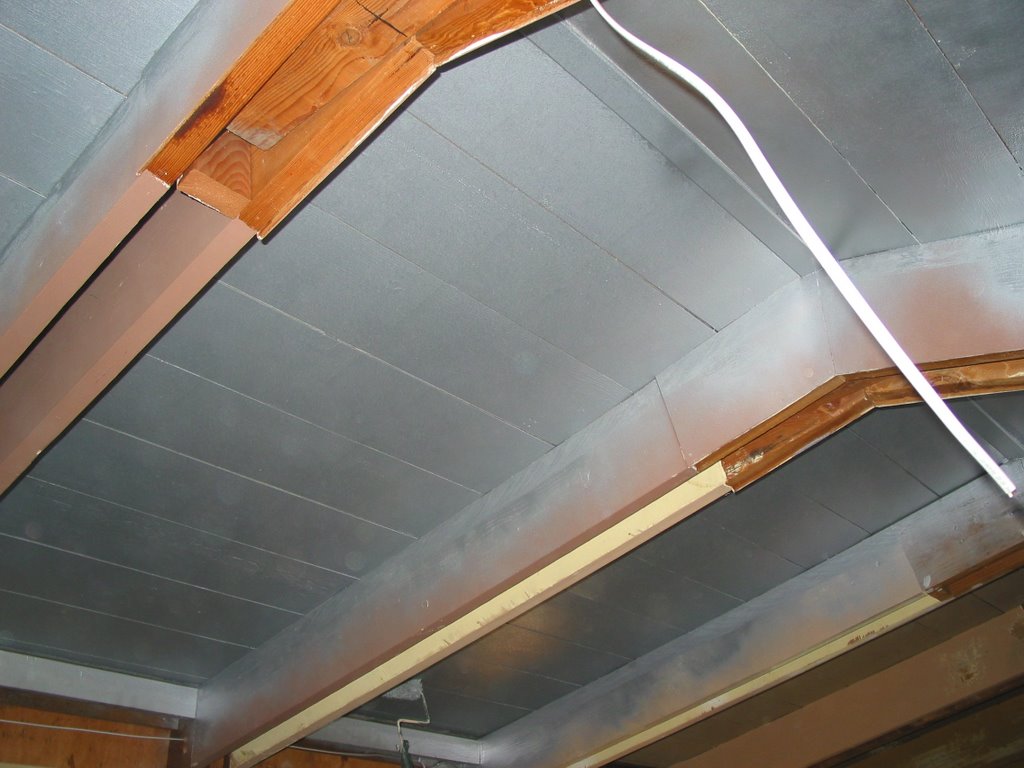
Here's the progress that we made last week during the week. Things are really starting to come together. The first shot is showing the primer on the kitchen ceiling. The next few shots show the ceiling painted and a decent shot of how the cabinets turned out. The blue stuff on the floor is an adhesive that holds the floor leveler to the old concrete. I didn't get any good shots of the floor leveler. It didn't work as well as I thought it wood. It definitely helped a few of my low spots. Trying to pour it was like trying to spread hot fudge. I recommend mixing it a lot thinner then the directions tell you to.


Posted by Picasa

Lacquer tastes good!

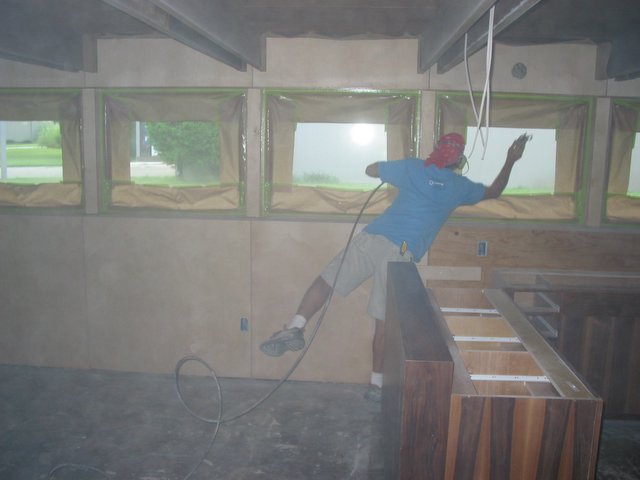
Here is some pictures of Doug, spraying the lacquer. We ended up going with a pre-catalyzed furniture grade lacquer in a hand rubbed finish. It turned out awesome! Doug has also painted the ceiling in the dining room and that made a huge difference. I could never decide if I wanted to paint it or not and we finally decided to paint it and I'm glad we did. It lightened up the lower level a lot, I think we will be really happy we decided to paint it. It's hard to get some good pictures of the lacquer, its been cloudy a lot lately and I don't have any lights wired so its difficult to get the shots with the flash going off.


Posted by Picasa

Wednesday, August 23, 2006

After two coats of sealer

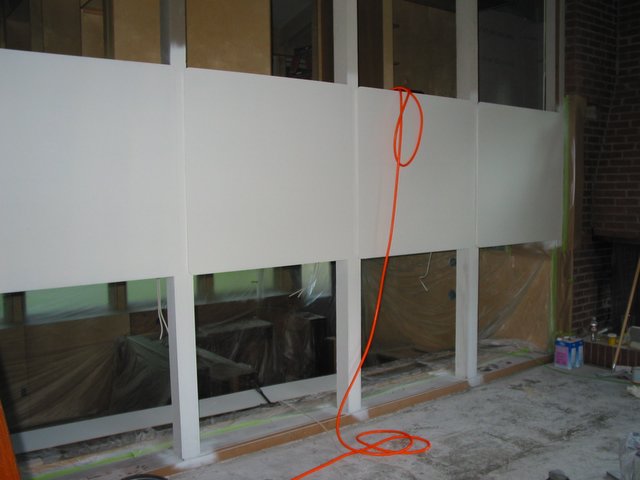
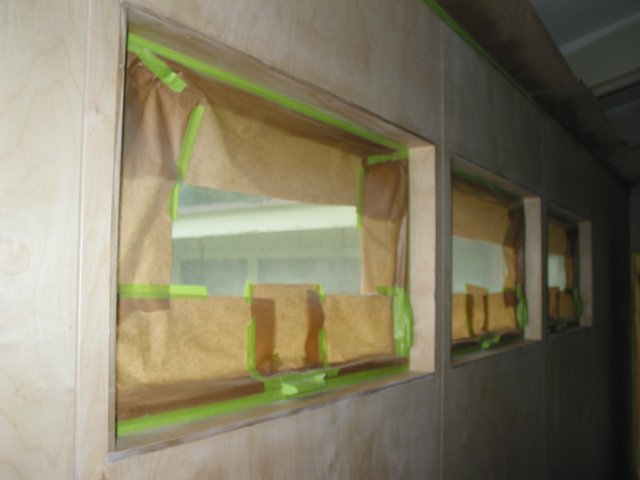
Here's some pictures from last weekend. These pics were taken after two coats of sealer and after a lot of sanding.


Posted by Picasa

Wednesday, May 03, 2006

Insuladd

Its been two weeks since I last updated, I have received numerous death threats suggesting I post more frequently so here I am. I last posted asking for some advice on ceiling color, I went with the lighter of the two beams and I must say it looks great (my dad said that making two anonymous post was an easy way to get his pick). One of my dad's friends told us of a product that is supposedly an insulating paint additive. Since I have no insulation in the ceiling I thought it would be worth the $200 I spent on the additive if it worked at all. The product (www.insuladd.com) I chose goes on in two coats. The first coat is a radiant barrier, it has little chips of metal in it that once the water evaporates is supposed to become a barrier. It looks like aluminum foil when it goes on and when it dries it has a rubbery texture. The insuladd additive mixes into whatever paint color you choose. It makes the paint very thick but with a very heavy duty sprayer we where able to spray it. I will post some more conclusive results but the day of painting it was roughly 80 deg. outside and sunny. The surface temp. of my shingles reached 155 deg. around 2.00 p.m. The overhang of the house which has the same decking etc. had a temperature of around 90 deg. the inside ceiling after the insuladd had a temp. of 80 deg. I think a 10 deg. difference is significant and well worth the money.

Thanks to Doug Majors for doing the painting. He would be happy to do any painting you want. I like to think of him as the regional expert of insuladd paint additive.


Wednesday, April 19, 2006

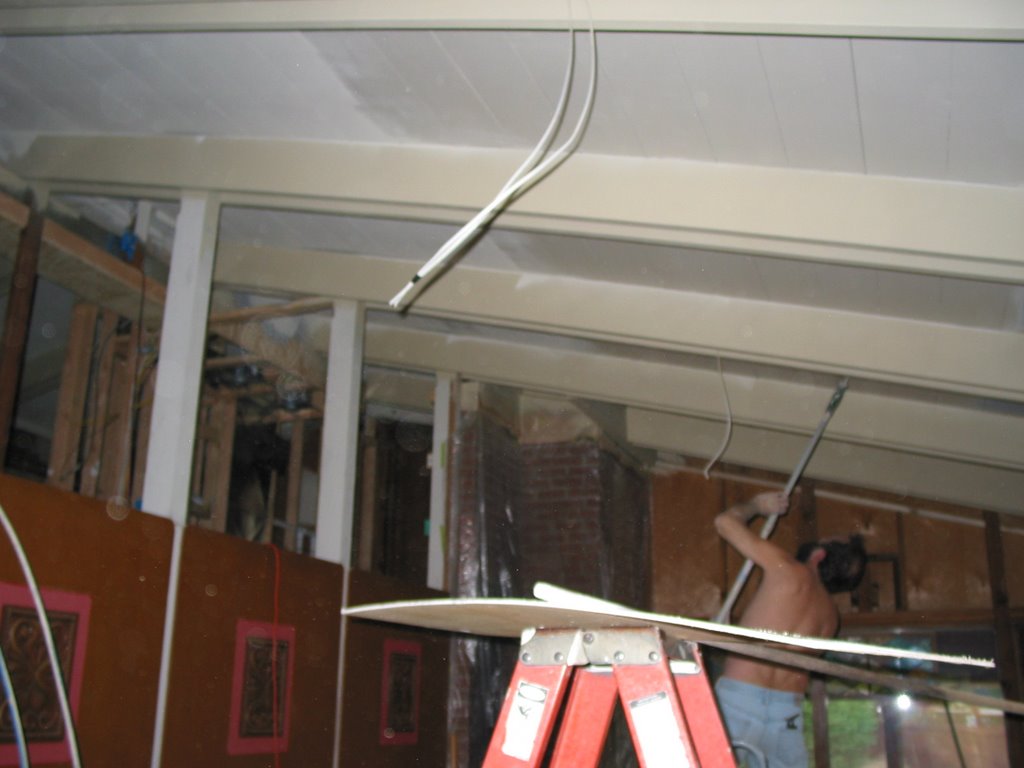
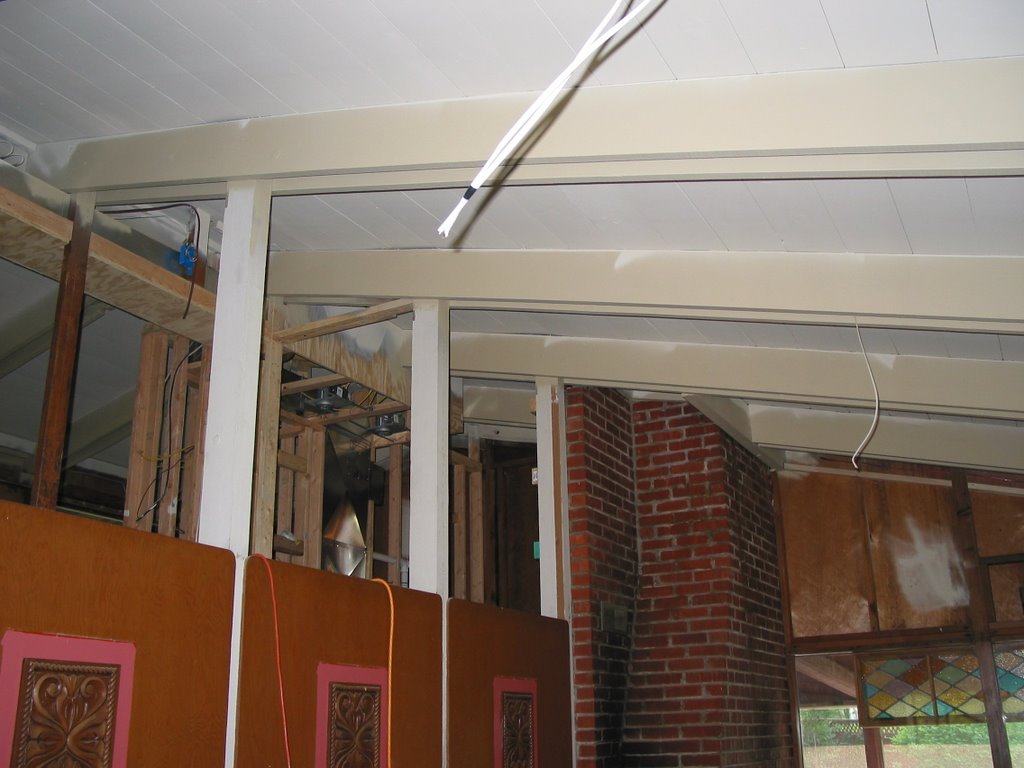
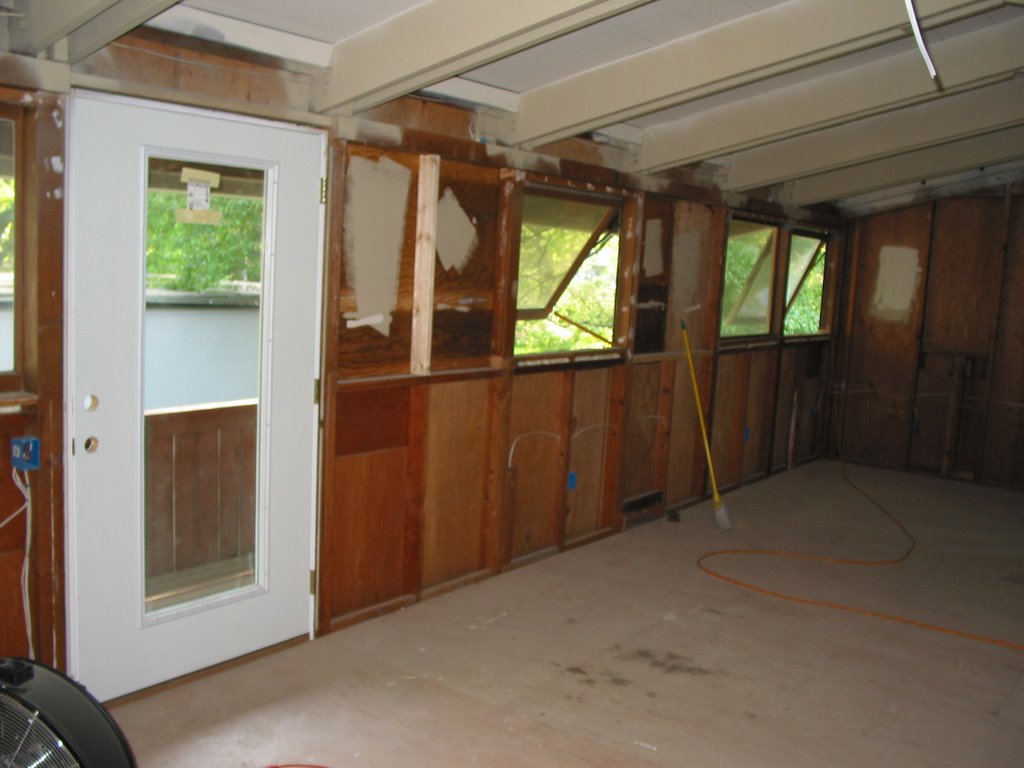
I'm trying to decide between these two color schemes, I know I am going to paint the interior beams out the same color as the exterior trim. So far the darker beams are winning the vote, let me know what you think. I'm painting the ceiling this weekend since it will be easier before I install the wall paneling.